
A proper time machine backup setup usually gets ignored until the day it really matters. That tends to be when a Mac will not start, a folder vanishes, or years of family photos suddenly seem far too precious to be sitting on one hard drive.
The good news is that Time Machine is one of the simpler backup systems Apple has made. The less good news is that many people switch it on once, assume all is well, and only discover later that the drive was too small, disconnected for months, or never included the files they actually needed. A good setup is not difficult, but it does need a bit of thought at the start.
Why a good time machine backup setup matters
Time Machine is built into macOS and is designed to make regular backups without much fuss. It can save copies of your documents, photos, settings, apps and older versions of files, which is exactly what you want if something is deleted by accident or your Mac develops a fault.
For home users, that often means protecting family photos, school work, personal paperwork and years of emails. For small businesses, it can mean client documents, accounts files, project folders and the settings that keep a working Mac usable from one day to the next.
What Time Machine does very well is ongoing local backup. What it does not replace is wider planning. If your only backup drive sits next to the Mac and both are damaged in a fire, flood or burglary, that is a problem. So the best answer is often Time Machine plus at least one other layer, such as cloud storage or an additional off-site backup.
Choosing the right drive for Time Machine backup setup
The first decision is the backup destination. Most people are choosing between a directly connected external drive and a network-based backup target. For many households and small offices, a USB or USB-C external drive is the easiest and most reliable option.
As a rule, the backup drive should be at least twice the size of the data stored on your Mac, and often more. If your Mac has a 512GB internal drive that is more than half full, a 1TB drive is a sensible starting point. If you keep a large photo library, music collection or business archive, 2TB or 4TB may be the better choice. A drive that is too small will fill up quickly, and while Time Machine can remove older backups automatically, limited space reduces how far back you can go.
Portable drives are tidy and convenient, especially for MacBook users. Desktop drives can be better for always-on use at a desk because they are often larger and built for heavier duty. SSDs are faster and quieter, but traditional hard drives still offer more storage for the money. For many people, the trade-off comes down to budget versus speed.
If you use a laptop in different rooms or carry it to work, remember a simple truth: a backup drive only works when it is connected often enough. The best drive is not just the fastest one. It is the one you will actually use.
How to set up Time Machine properly
The basic setup is straightforward. Connect the external drive to the Mac and, in many cases, macOS will ask whether you want to use it with Time Machine. If it does not, open System Settings, go to General, then Time Machine, and add the backup disk manually.
At that point, macOS may offer to erase and format the drive. If the drive contains anything else you need, stop and check before agreeing. It is common for people to grab an old external drive from a drawer and forget it still contains files they meant to keep.
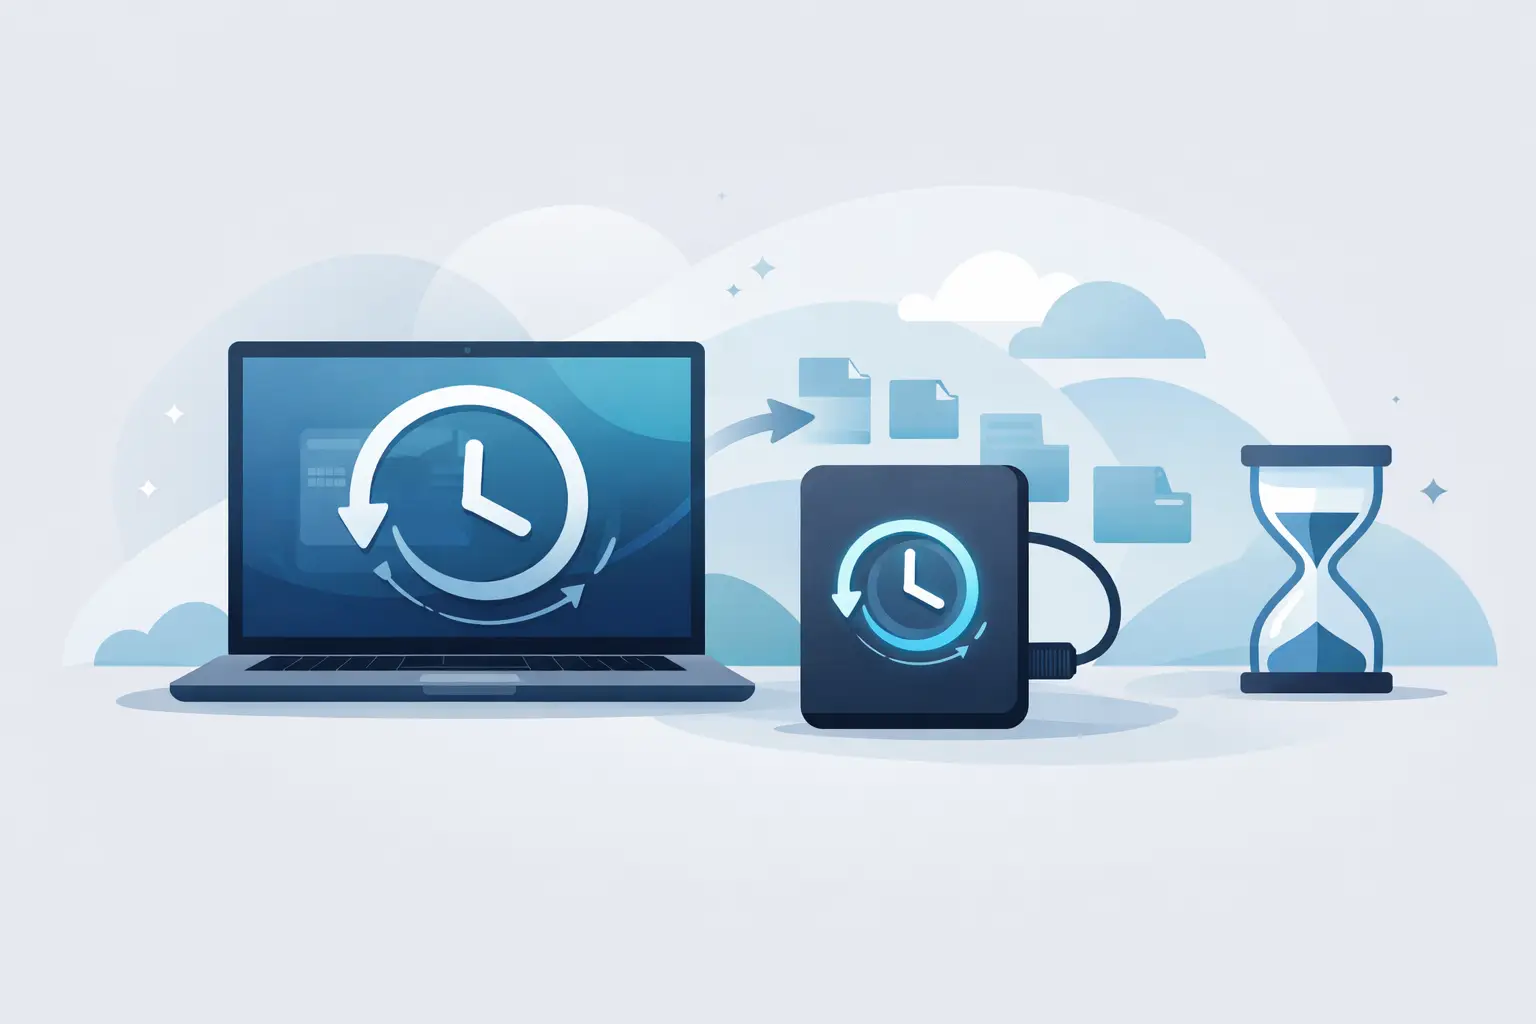
Once selected, Time Machine will begin creating backups automatically. The first backup can take quite a while, particularly if the Mac holds years of data. After that, backups are incremental, meaning only changed files are copied. That keeps day-to-day backup much quicker.
Encryption is worth enabling, especially on a portable drive. If the disk is lost or stolen, your backup remains protected. The trade-off is that you must keep the password safe. If it is forgotten, the encrypted backup may be unusable.
What to check before you trust it
A successful first backup is not the same as a dependable backup routine. Before you tick the box mentally and move on, there are a few practical checks worth making.
Open Time Machine settings and confirm the correct disk is listed. Check the date and time of the latest backup. Make sure the drive has enough free space to continue working sensibly over time.
It is also worth checking what is excluded. Some users deliberately leave out large folders to save space, but then forget what those folders contain. If your business stores active work on an external drive, for example, Time Machine may not be backing that up unless you have planned for it. Likewise, if family photos live somewhere unusual, it is sensible to confirm they are included.
One of the most overlooked tests is trying a restore. Pick a non-critical file, delete it, then use Time Machine to bring it back. That simple test tells you far more than a reassuring green tick.
Common mistakes with time machine backup setup
The biggest mistake is assuming backups happen just because a drive exists. If the drive is rarely connected, backups become patchy. This is common with MacBooks that spend most of their life away from a desk.
Another issue is using one drive for several jobs without thinking it through. A disk that stores archived files, random downloads and Time Machine backups can become messy quite quickly. Dedicated backup drives are usually easier to manage and less likely to be tampered with by accident.
People also underestimate drive failure. Backup drives can fail too. If you hear clicking, see repeated disconnections, or notice unusually slow behaviour, do not ignore it. The fact that it is a backup drive does not make it immortal.
Then there is the false comfort of iCloud. iCloud is useful and often very helpful, but synchronisation is not the same as backup. If a file is deleted and that deletion syncs everywhere, you may still need Time Machine to recover an earlier version.
The best setup for home users and small businesses
For many home users, the simplest arrangement is one external drive kept connected at home, with Time Machine running automatically. If the Mac is a laptop, make reconnecting it part of a routine, perhaps every evening or every few days.
For small businesses, especially those depending on one or two Macs, it is often worth being slightly more cautious. A local Time Machine backup gives you quick recovery, which matters when work has to continue. Pairing that with cloud storage or a second backup kept elsewhere gives you protection against theft, fire and other worst-case scenarios.
If more than one person uses the Mac, or if the machine handles accounts, customer records or important school or charity documents, it is worth setting up a backup plan that someone actually checks. The right system is not the most complicated one. It is the one that suits how you work.
When Time Machine is not enough on its own
Time Machine is excellent for restoring files, recovering older versions and helping migrate to a replacement Mac. It is less ideal as your only safety net if your setup is spread across multiple devices, cloud services and external disks.
For example, if your business uses Microsoft 365, shared folders, email platforms and browser-based systems as well as the Mac itself, your backup thinking needs to go wider than one local drive. The same applies in households with several Macs, iPads and iPhones sharing photos and documents.
That does not mean Time Machine is the wrong choice. It just means it works best as part of a sensible overall approach rather than a magic answer to every data problem.
If your backups are failing or confusing
Time Machine is usually friendly, but when it goes wrong it can be frustrating. Drives fill up, permissions get muddled, backups stall, and error messages are rarely written in plain English. Sometimes the issue is the drive itself. Sometimes it is the Mac. Sometimes it is just a setup that was never quite right from the start.
That is where a bit of hands-on help can save a lot of stress. North Dorset Mac Man regularly helps people sort out backup problems in their home or workplace, explain what is happening without jargon, and make sure the system is genuinely protecting the files that matter.
A backup should give you peace of mind, not another job to worry about. If you set up Time Machine with the right drive, the right expectations and a quick restore test now and then, it becomes one of the quietest bits of technology you own – which is exactly how it should be.